 My friends and I wanted to make a quilt as a gift for a friend’s wedding last summer. After much discussion, we settled on a scrappy log cabin pattern (see tutorial at Flutter Kat) using a Quilt as you Go (QAYG) technique, so everyone could quilt their own squares and to be able to machine quilt a Queen sized quilt on a home machine. The first step was choosing colors. We wanted it to be “lots of colors,” so we chose a nice Layer Cake, and then split it up between us (we used Simply Color by V&Co). Everyone could pick any other fabrics that they wanted from their stash or purchased, but they had to coordinate with 2-3 different fabrics in the Layer Cake. That way, we figured, it would all tie together in the end. And it did! It worked! It turned out beautifully. I coveted it. I need to make one for myself.
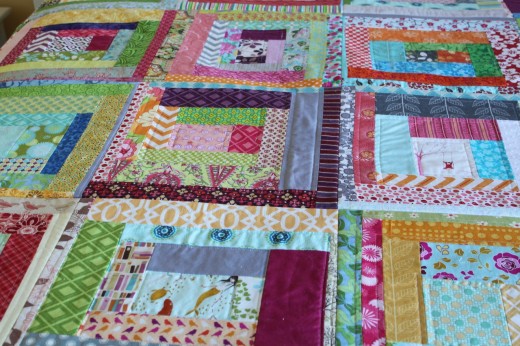 I collected all of the squares. We squared them up using a 15 inch square ruler (easy!). Then, I sewed them together with 1/2 inch seam allowances. A friend had to help me manage all that fabric, but between the two of us, it worked well. It would have been hard to sew it by myself. Top of quilt was put with the back, and I stitched in the ditch for each row and column. Then, I was worried about the batting shifting in 15″ squares. Next time, I would make them smaller. So I decided to free motion quilt little designs in the center of each square. That wasn’t easy, but I wanted to make sure the quilt would last for many lifetimes. I could have tied the quilt in the centers of each square, but we had already spent so much time on this quilt that it seemed like tying was a shortcut.
The back is 108″ wide gray Bella solid fabric. There is a stripe of various fabrics from the front across the top of the back. And, the binding is a dark purple solid (Kona).
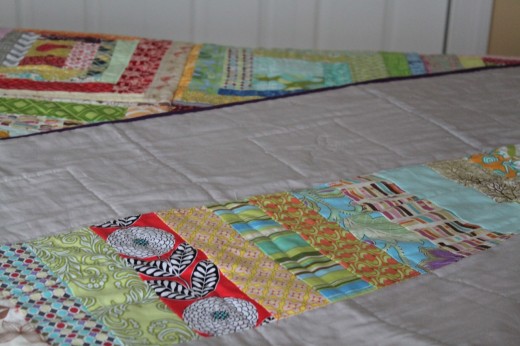 So, basic info on the size of the quilt. It is 6 squares by 7 squares, for a total of 42 squares. There were five of us, so three of us made 8 squares, and two of us make 9 squares. The squares were made about 15-1/2 inch square to give us the ability to cut them down to 15″ with the ruler (allowing for some wonkiness in the edges). Then, using 1/2 inch seam allowances, the final quilt ended up being about 84″ x 98″. A little longer than a standard Queen quilt, but it’s all good.
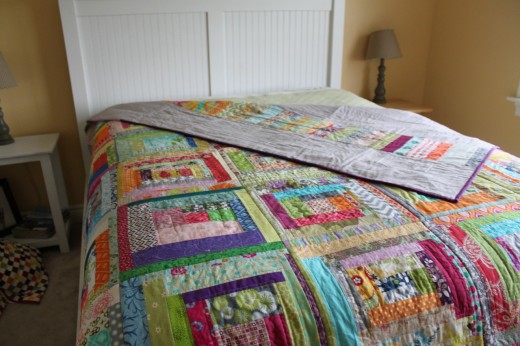 Everyone should make one of these quilts. It was so wonderful to create for our friends!
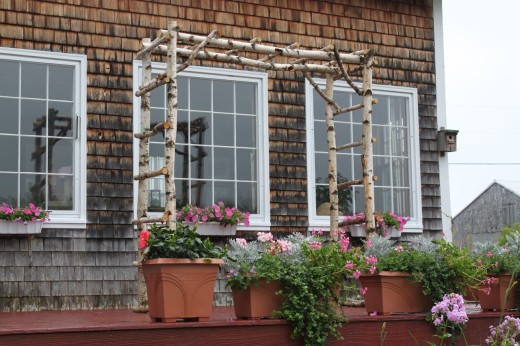
The wedding was held in a beautiful spot — my friend’s childhood home in rural Maine. Here is the super-cool altar made of birch branches that a friend of theirs made.
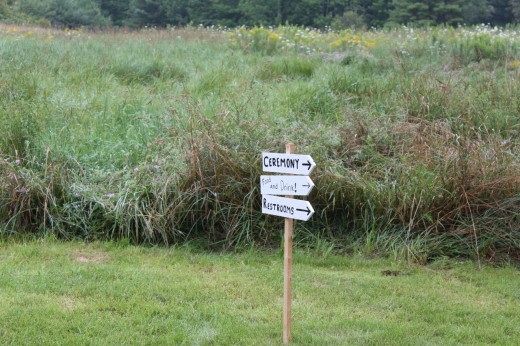
 Cute little signs to direct people to different locations:
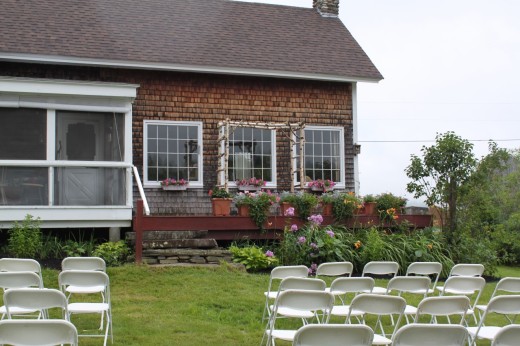
 Outdoor seating. It was drizzling when we stopped by that morning pre-wedding (to drop off our contribution of beer for the party), but it totally cleared up before the wedding! Perfect!
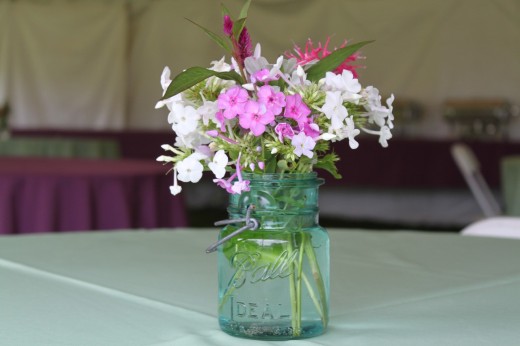
 Gorgeous centerpieces made from flowers that the bride’s mother and a friend collected and put into Mason jars.
 And the happy couple pre-wedding:
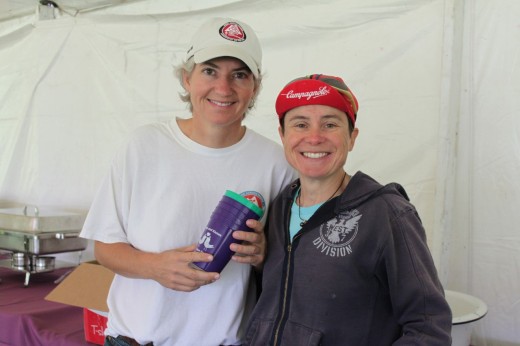 Many years of love to you, my friends!
Filed under: Uncategorized | Tagged: Maine, Quilting | 1 Comment »


