Blueberries
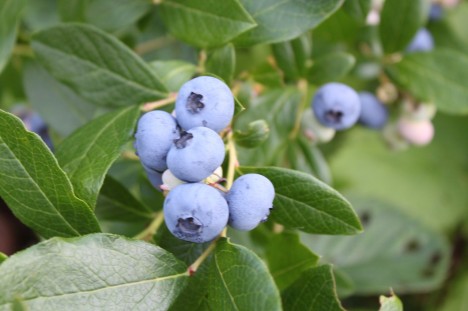
Who doesn’t love these little balls of juicy, antioxidant-filled, goodness?? The boys are funny. They will only eat blueberries from our backyard bushes. They don’t like any other kind. I guess they taste better when they are still warm from the sun. We have two high bush blueberries in a backyard berry patch, as well as several raspberry bushes. We used to have strawberries there as well, but the raspberries have taken over. We planted some new strawberries this spring, so we’ll see if we get any more next summer from the new plantings. But, I think we are going to have to re-locate the strawberry patch.

Blueberry / Raspberry patch. The frame and net is so the birds and deer won’t eat our berries before we have a chance to pick them!
Our blueberries are hitting their stride, and we picked almost three pounds this past weekend. We probably have another three pounds still ripening on the bushes. Mmm…now what to do with those yummy blueberries?? Usually I make lots of muffins and quick breads with them, or eat them fresh or in yogurt/oatmeal.
The other thing I do with blueberries is make pie and jam! However, we don’t use our backyard high-bush berries for that. I buy Maine wild blueberries (AKA low-bush) for that from local sources. My favorite recipe for blueberry pie is from Cook’s Illustrated. I use their pie crust for all of my pies. It’s different than other pie crusts in that it uses vodka as part of the liquid. The addition of the vodka allows the dough to be moister, and thus easier to roll without breaking. However, then the vodka evaporates when it cooks, and you end up with a flaky, tender crust. Unfortunately, the raw dough tastes sort of icky, but the final product is excellent! (That’s okay, dissuades the dough-snitches.) The other thing that I love about the CI blueberry pie recipe is the addition of a grated granny smith apple. It disappears into the fruit and you don’t even know it’s there, however it adds a good amount of pectin which thickens the pie without the gumminess that can occur if you use too much tapioca or cornstarch.
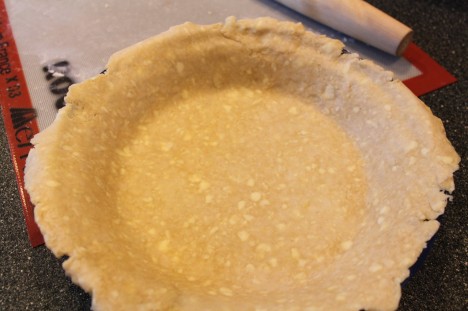
Pie crust ready to be filled and baked. Look at all the buttery goodness!
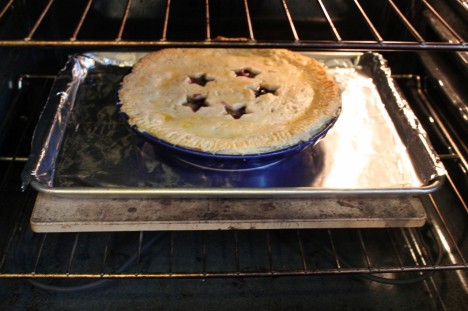
Into the oven!

Blueberry Pie
I’m not the best pie crust shaper, so I like to think of my pies as “rustic”. And rustic sure is tasty!
Blueberry Pie with Vodka-Crust
(Cook’s Illustrated)
Ingredients
Pie Dough
2 1/2 cups unbleached all-purpose flour (12 1/2 ounces), plus more for work surface
1 teaspoon table salt
2 tablespoons sugar
12 tablespoons cold unsalted butter (1 1/2 sticks), cut into 1/4-inch slices
1/2 cup vegetable shortening, cold, cut into 4 pieces
1/4 cup vodka, cold
1/4 cup cold water
Blueberry Filling
6 cups fresh blueberries (about 30 ounces)
1 Granny Smith apple, peeled and grated on large holes of box grater
2 teaspoons grated zest and 2 teaspoons juice from 1 lemon
3/4 cup sugar (5 1/4 ounces)
2 tablespoons quick-cooking tapioca, ground in a spice grinder to a powder
pinch table salt
2 tablespoons unsalted butter, cut into 1/4-inch pieces
1 large egg, lightly beaten with 1 teaspoon water
1. For The Pie Dough: Process 1 1/2 cups flour, salt, and sugar in food processor until combined, about two 1-second pulses. Add butter and shortening and process until homogenous dough just starts to collect in uneven clumps, about 15 seconds; dough will resemble cottage cheese curds and there should be no un-coated flour. Scrape bowl with rubber spatula and redistribute dough evenly around processor blade. Add remaining cup flour and pulse until mixture is evenly distributed around bowl and mass of dough has been broken up, 4 to 6 quick pulses. Empty mixture into medium bowl. (TINA’s NOTE: I put my cut-up butter/shortening in the freezer on a plate for about 10 minutes before using it just to make sure it’s super-cold.)
2. Sprinkle vodka and water over mixture. (TINA’s NOTE: mix water and vodka and put in the freezer for about 10-15 to get super-cold. The vodka will help the water not freeze if leave it in there a bit longer.) With rubber spatula, use folding motion to mix, pressing down on dough until dough is slightly tacky and sticks together. Divide dough into 2 even balls and flatten each into 4-inch disk. Wrap each in plastic wrap and refrigerate at least 45 minutes or up to 2 days.
3. Remove 1 disk of dough from refrigerator and roll out on generously floured (up to 1/4 cup) work surface to 12-inch circle, about 1/8 inch thick. Roll dough loosely around rolling pin and unroll into pie plate, leaving at least 1-inch overhang on each side. Working around circumference, ease dough into plate by gently lifting edge of dough with one hand while pressing into plate bottom with other hand. Leave dough that overhangs plate in place; refrigerate while preparing filling until dough is firm, about 30 minutes.
4. For The Filling: Adjust oven rack to lowest position, place rimmed baking sheet on oven rack, and heat oven to 400 degrees. Place 3 cups berries in medium saucepan and set over medium heat. Using potato masher, mash berries several times to release juices. Continue to cook, stirring frequently and mashing occasionally, until about half of berries have broken down and mixture is thickened and reduced to 1 1/2 cups, about 8 minutes. Let cool slightly.
5. Place grated apple in clean kitchen towel and wring dry. Transfer apple to large bowl. Add cooked berries, remaining 3 cups uncooked berries, lemon zest, juice, sugar, tapioca, and salt; toss to combine. Transfer mixture to dough-lined pie plate and scatter butter pieces over filling.
6. Roll out second disk of dough on generously floured (up to 1/4 cup) work surface to 11-inch circle, about 1/8 inch thick. Using 1 1/4-inch round cutter, cut round from center of dough. Cut another 6 rounds from dough, 1 1/2 inches from edge of center hole and equally spaced around center hole. Roll dough loosely around rolling pin and unroll over pie, leaving at least 1/2-inch overhang on each side. (TINA’s NOTE: I like to use mini shaped cutters like leaves, flowers or stars.)
7. Using kitchen shears, trim bottom layer of overhanging dough, leaving 1/2-inch overhang. Fold dough under itself so that edge of fold is flush with outer rim of pie plate. Flute edges using thumb and forefinger or press with tines of fork to seal. Brush top and edges of pie with egg mixture. If dough is very soft, chill in freezer for 10 minutes.
8. Place pie on heated baking sheet and bake 30 minutes. Reduce oven temperature to 350 degrees and continue to bake until juices bubble and crust is deep golden brown, 30 to 40 minutes longer. Transfer pie to wire rack; cool to room temperature, at least 4 hours. Cut into wedges and serve.
Even better….serve with ice cream!
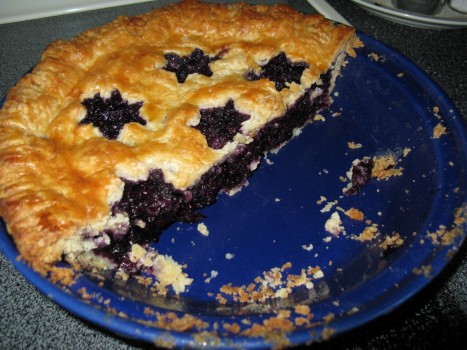
Blueberry Pie, recipe from Cook’s Illustrated, July/Aug 2008, Issue 93. See how dense the filling it? Not runny at all.
Filed under: Cooking, Gardening | 4 Comments »
 My friends and I wanted to make a quilt as a gift for a friend’s wedding last summer. After much discussion, we settled on a scrappy log cabin pattern (see tutorial at Flutter Kat) using a Quilt as you Go (QAYG) technique, so everyone could quilt their own squares and to be able to machine quilt a Queen sized quilt on a home machine. The first step was choosing colors. We wanted it to be “lots of colors,” so we chose a nice Layer Cake, and then split it up between us (we used Simply Color by V&Co). Everyone could pick any other fabrics that they wanted from their stash or purchased, but they had to coordinate with 2-3 different fabrics in the Layer Cake. That way, we figured, it would all tie together in the end. And it did! It worked! It turned out beautifully. I coveted it. I need to make one for myself.
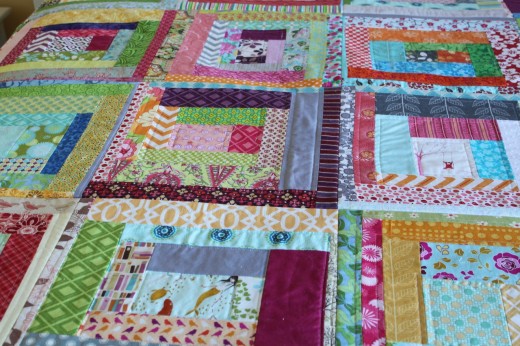 I collected all of the squares. We squared them up using a 15 inch square ruler (easy!). Then, I sewed them together with 1/2 inch seam allowances. A friend had to help me manage all that fabric, but between the two of us, it worked well. It would have been hard to sew it by myself. Top of quilt was put with the back, and I stitched in the ditch for each row and column. Then, I was worried about the batting shifting in 15″ squares. Next time, I would make them smaller. So I decided to free motion quilt little designs in the center of each square. That wasn’t easy, but I wanted to make sure the quilt would last for many lifetimes. I could have tied the quilt in the centers of each square, but we had already spent so much time on this quilt that it seemed like tying was a shortcut.
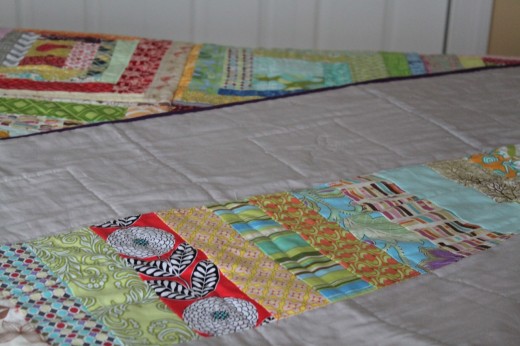 So, basic info on the size of the quilt. It is 6 squares by 7 squares, for a total of 42 squares. There were five of us, so three of us made 8 squares, and two of us make 9 squares. The squares were made about 15-1/2 inch square to give us the ability to cut them down to 15″ with the ruler (allowing for some wonkiness in the edges). Then, using 1/2 inch seam allowances, the final quilt ended up being about 84″ x 98″. A little longer than a standard Queen quilt, but it’s all good.
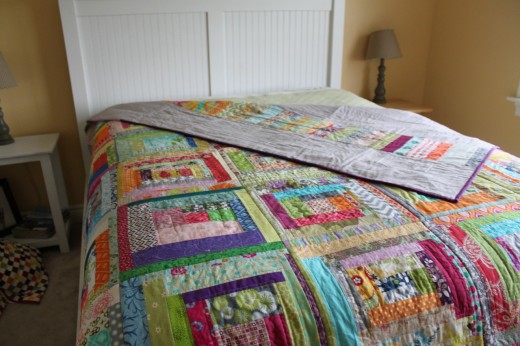 Everyone should make one of these quilts. It was so wonderful to create for our friends!
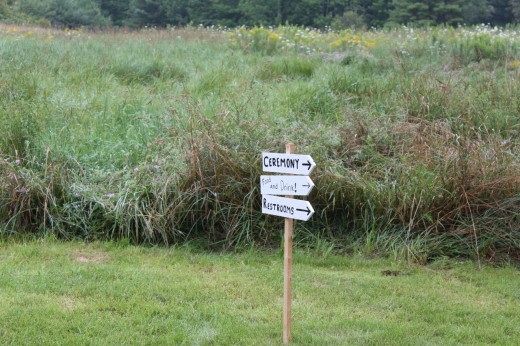
 Cute little signs to direct people to different locations:
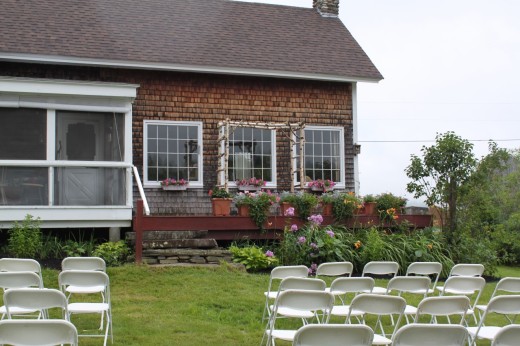
 Outdoor seating. It was drizzling when we stopped by that morning pre-wedding (to drop off our contribution of beer for the party), but it totally cleared up before the wedding! Perfect!
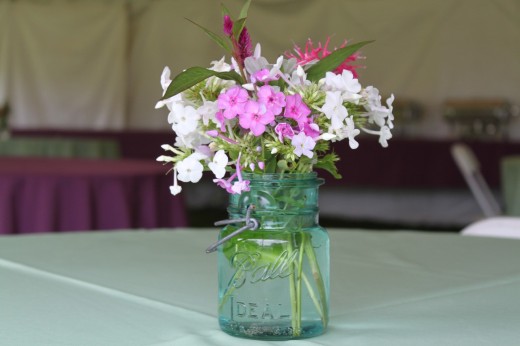
 Gorgeous centerpieces made from flowers that the bride’s mother and a friend collected and put into Mason jars.
 And the happy couple pre-wedding:
 Many years of love to you, my friends!


